|
|
|
|
 Print Print |
|
|
| Fisher & Paykel Windmill. |
Page 1 | 2 | 3 | 4 | 5 | 6 |
 Back Back
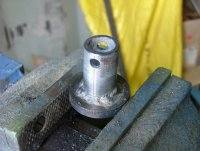
| My mast diameter is 48mm
od 40mm id. Cut a washer 40mm od and 22mm id. Cut a 40mm
length of the 22mm od pipe, then drill a 9 mm hole through
one end. Weld these together. |
 |
| Then weld this into the end
of the mast. I pushed mine down into the mast about 5
mm before welding |
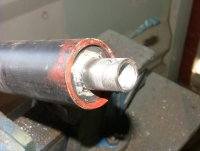 |
Weld a 8mm nut over the hole drilled
in the side of the 22mm tube. This photo was take after
the mast was painted. Check that the windmill can slide
over the nut. Once a bolt is fitted, the windmill can't
slide off. |
|
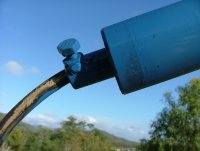
| Slide the windmill over the
tower and screw in the retaining bolt to stop it sliding
off. Dont forget to apply some grease to the mast first.
You can see the power drop wire poking through the 22mm
tube on the end of the mast. Tip - feed your power cable
through your mast before you lift it off the ground. |
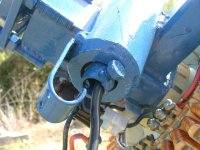 |
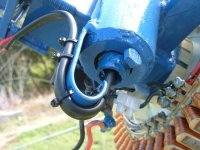
| Secure the drop cable to
the U bar with cable ties. This U bar will take the weight
of the drop wire and feed it down the middle of the 22mm
tube. The cable should not rub against the tube as the
windmill yaws. |
 |
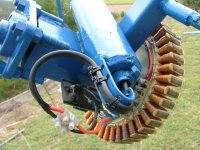
| Then connect the drop wire
to the rectifier. |
 |
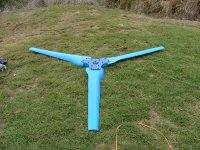
| This is the propeller I used
for my old F&P windmill. The blades were made by Dennis
Latham in Adelaide, and I recently reshaped the blade
root and gave them a new coat of paint. There are other
web sites about making your own timber blades, so I wont
go into it here. Check out the websites on my Links page. For more infomation on blades, click here. |
 |
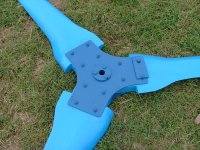
| These hub plates are lasercut,
and have a internal spline that fits the F&P shaft.
You might notice the balancing plate on one side. This
photo is looking at the back of the propeller. |
 |
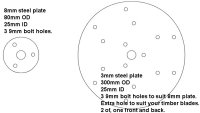
| But for your windmill I would
weld a piece of 8mm plate cut like a large washer ( 25mm
id, 90mm od) onto the F&P shaft ( push the plate up
against the bearing and check its square before welding
), then bolt a larger 300mm diameter 3mm thick disk of
steel or aluminium to hold the blades. Use two 3mm plates,
one in front and one behind the blades. |
 |
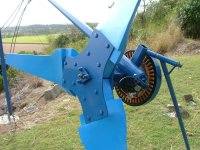
| The propeller bolted to the
windmill. Dont forget to screw on the F&P Hub. I've
painted my hub, as they are made of a plastic that will
degrade in full sunlight. |
 |
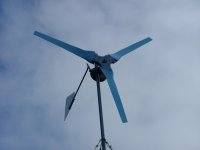
And up in the air.
I've skipped a few details, like how
to connect the rectifier, modify the stator. Have a
look at the F&P section of the Contents page for more information. |
 |
|
|
|
|
|
|


