Home Page
  Home  |  Contents  |  Forum
Print


Fisher & Paykel Windmill. Page 1 | 2 | 3 | 4 | 5 | 6

Back

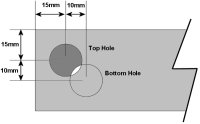
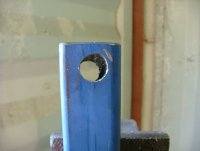
Drill/file two 16mm holes into the end of the 40mm box section. The holes are offset from each other by about 10mm. The top hole is closer to the end of the 40mm box. Use the diagram as a guide.

Make sure the 16mm rod slides through. These offset holes will hold the rod at the angle needed for our furling tail. Angle is not critical, we adjust furling later with tail length and weight.
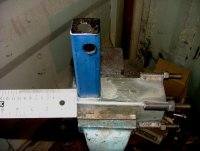
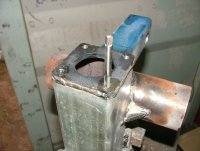
Tac and weld the 40mm box onto the 65mm box, about 10mm in from then end we bolt the stator to. Make sure the 16mm hole closest to the end of the 40mm box is facing up and back. This photo was taken from the under side of the windmill.
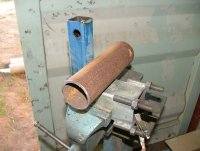
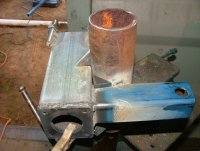
Sit the 50mm id pipe on the windmill as shown. The pipe sits in the middle of it length here, but this is not critical. Make sure its square, and fully weld. Make sure you weld down both sides of the pipe, its a tight angle to weld in but important. This is our yaw bearing.
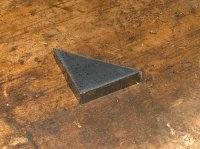
Cut 4 triangle pieces of scrap steel, about 25 * 25mm.
And weld these onto the windmill as shown. These give more strength.
Once all the welding is done, tap out the 6mm holes to suit the 6mm stator retaining bolts. Its best to do this after welding as any welding splatter will quickly stuff a thread.

Next