|
|
|
|
 Print Print |
|
|
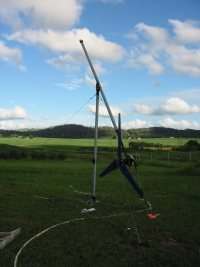
| Fisher & Paykel Windmill. |
Page 1 | 2 | 3 | 4 | 5 | 6 |
 Back Back
Cable retainer.
There are three designs I'll show here.
The first is the simplest, but no good if you have a
tilt tower like mine. |
 |
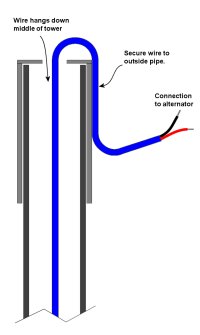
This design is easy to make, as shown
in the diagram. Remember you can click on these diagrams
and pictures for a full size picture.
The windmill slides over the top of
the tower, and relies on gravity to keep it there. The
drop wire is secured to the outer tube ( part of the
windmill ) with a couple of cable ties, or better still,
large hose clamps. It then hangs down the middle of
the tower. |
 |
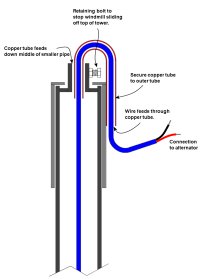
A better design uses an small extension
on the tower with a bolt to stop the windmill sliding
off the top of the tower. As my windmill tower is a
tilt tower, when I tilt the tower over the windmill
can slide off and damage the blades. So this is the
way I went.
The problem is you must guide the power
wire down the middle of the extension, or it will get
caught on the retaining bolt or bind against the extension
inner wall as the windmill yaws.
So you could use a short length of copper
tube bent in a U shape, and feed the power wide through
this tube. Make sure you secure the copper tube to the
windmill's outer tube with hose clamps or U bolts. See
the diagram. |
 |
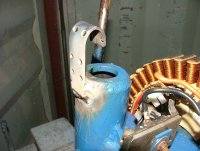
| Or you could do as I've done
and welded a U shaped length of 25mm wide flat bar. |
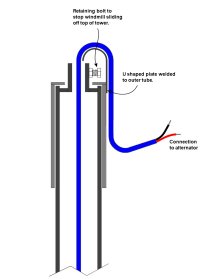 |
| I drilled some holes in the
flat bar to take cable ties, you see how I attached the
cable in the next couple of pages. |
 |
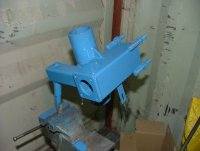
| Next clean up your welds
and paint the windmill with a durable exterior paint.
I used blue Rust Guard. |
 |
Next  |
|
|
|
|
|


