 |
|
|
Site Navigation
Projects & Information
»General Information»Wind turbine Projects »The F&P Smartdrive »Electronic projects »Microcontroller projects »Miscellaneous Kits & Parts
»Basicly Natural Pty Ltd»PVC & Aluminium blades »Scale model farm windmills »Price Watch Discussion Forums
Handy Links
»Wind»Solar »Electric Vehicles »Electronics »Micro Controllers »General Interrest About TheBackShed Getting Started Privacy Policy
|
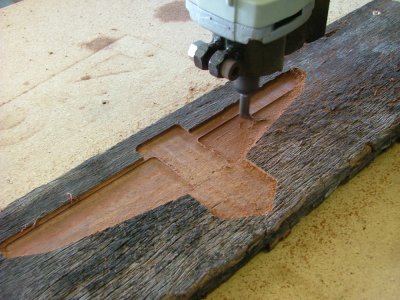
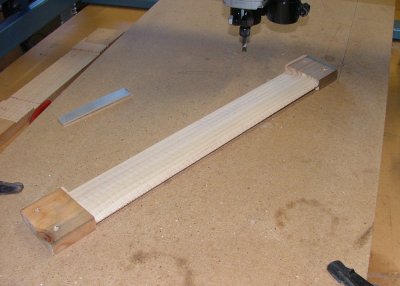
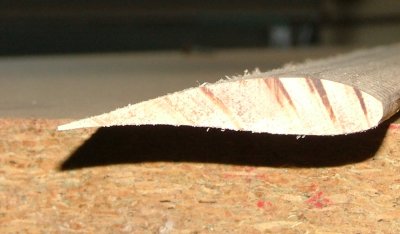
Next up was 3d milling. This was a whole new ball game. 3d milling involves a few more steps than normal 2d routing. 2d routing is easy, draw the shape in a cad program, save it as a DXF and use KCam to import the profile and mill the part out. You can set the Z depth when you import the DXF, so its possible to make multi level parts. But true 3d means KCam controls the Z axis in the same way as the X and Y axis. I wanted to make a airfoil for a small Darius windmill, so I designed the part in a 3d program, then used a milling program to generate the G-Code ( G-Code is the native language used by KCam, and just about any CNC machine out there from laser cutters to industrial robots. ). It took me a few attempts to get the hang of the software, but I got it sorted and made my first 3d part.
You can download the video here, its about 2.3 megs in size, and shows the router making the part above.
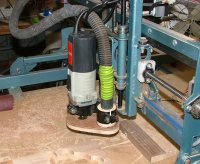
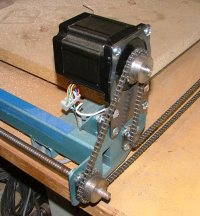
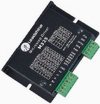
First up I found a cheap supply of Acme thread, 6 turns per inch. I had to make my own nuts(!) from some HDPE plastic, the result was less backlash and the steppers could run slower for the same XYZ speed. Next was the microsteppers. I had heard of Microstepping, where the stepper motor driver feeds a almost sine wave like signal to the stepper motor, but microsteppers were expensive, so I thought. Ocean Controls came to the rescue again with a cheap $99 microstepper module, the M325. The M325 can drive up to 2.5 amps, and will work as a 1, 2, 4 or 8 step microstepper. I ordered 3, one for each axis.The difference micro stepping made was dramatic, over twice the half step speed. My router would now reliably travel at over 1000mm per minute. Lastly I changed the X axis motor for a larger motor, again worth the money. To be continued....
|
||
 Since
this video was taken I've made three big changes to
the machine. I'll document these better in time, but
a quick run down for now......