
|

|
Forum Index : Electronics : home made chest fridge
| Author | Message | ||||
| Tinker Guru Joined: 07/11/2007 Location: AustraliaPosts: 1904 |
This is a description of how I made a very economical chest fridge from the parts of a junked upright domestic fridge. THIS WORK INVOLVES WORKING WITH MAINS VOLTAGE EQUIPMENT SO PLEASE GET SOMEBODY QUALIFIED TO DO THAT IF YOU WISH TO BUILD ONE TOO. My original donor fridge was purchased second hand in 1977, ran for years in the kitchen and then in the shed as a drinks fridge before I got into energy saving and built the chest fridge described below from the salvaged working parts. The original compressor ran until 2 years ago when it failed, after 40 years or so of service I'm amazed how long these things last. I purchased another cheap second hand fridge but this one had a much bigger freezer compartment so the reshaped evaporator plate now wraps about 3/4 around the fridge inside, the original one only wrapped 1/3rd around. With the bigger evaporator plate also came a bigger compressor which uses higher running power but also runs for less time to maintain the same temperature, so the power usage result would be very similar. 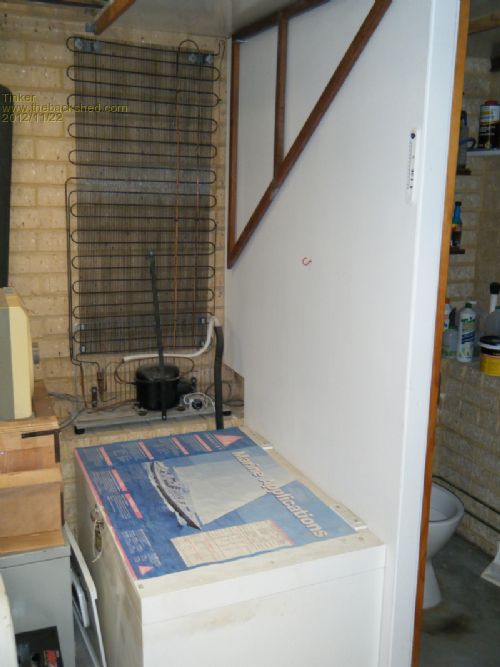
This is a picture of the finished product, not pretty but functional. The box is best built from the inside out. I started with 3mm masonite, the one that has its smooth side coated white. Its cheap but not very stiff so external pine cleats (20 x 20 mm) were used to stiffen it and provide more gluing area. Every surface was painted outside with waterproof primer & waterproof topcoat. Bathroom paint would be fine, I used some left over boat paint. There is a 1mm sheet of white ABS plastic lining the bottom to prevent wear & scratches on the painted masonite. Next I attached sheets of 25mm second hand polystyrene around the sides & bottom, 3 layers in all, making sure the joints were overlapped and any gaps were filled with cartridge foam in sealant. Most glues attack polystyrene so choose one that is safe. When finished this should be still square all round so it easily slides into the outer box that was made next. I used 9mm plywood for that, best to use something that is not too dense & resists heat conduction. This box could be lined with alu sarking as well. But it is important that the outer box is constructed well sealed and also sealed with paint inside & out to make it last. The inside box was then inserted and the top gap sealed with 3mm plywood, painted as above. This surface should be level as it makes the seal with the door. Below is a picture how the cutout for the cooling pipe & thermostat was arranged. 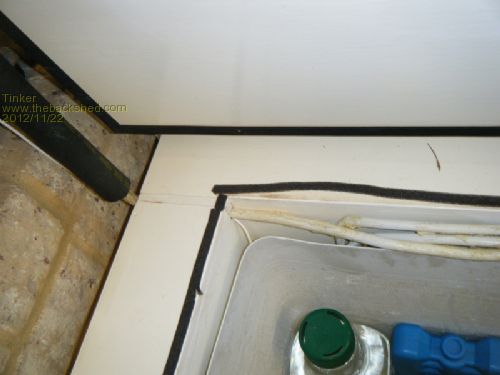
The lid was made similarly than the box, it must have a flat mating surface for the foam & thin rubber door seals. The hinges need to be extended to the top if this chest cooler is to sit against a wall like mine does, see picture below 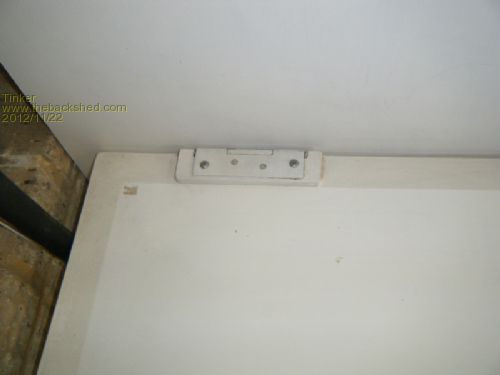
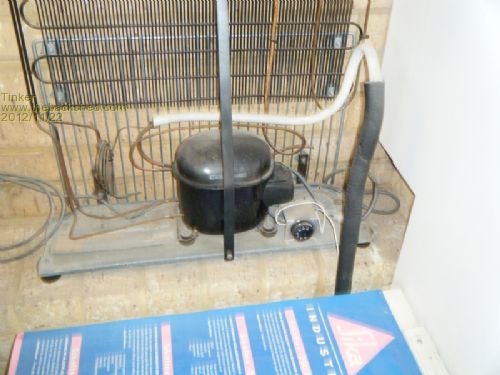
When dismantling the donor fridge great care must be taken to avoid excessive bending of the copper pipes. They and the attached condenser radiator will be very floppy and difficult to move with just two hands. A temporary frame to hold them is useful as the copper tube easily work hardens and becomes progressively harder to bend to the final shape. Worst of all, it could crack and then the greenhouse gas police will be very cross  , beside a lot of dismantling time was for nothing , beside a lot of dismantling time was for nothing  so take care. so take care.
I made use of one of the fridge shelf grids to support the condenser in conjunction of steel strips & wall attachments at the top. 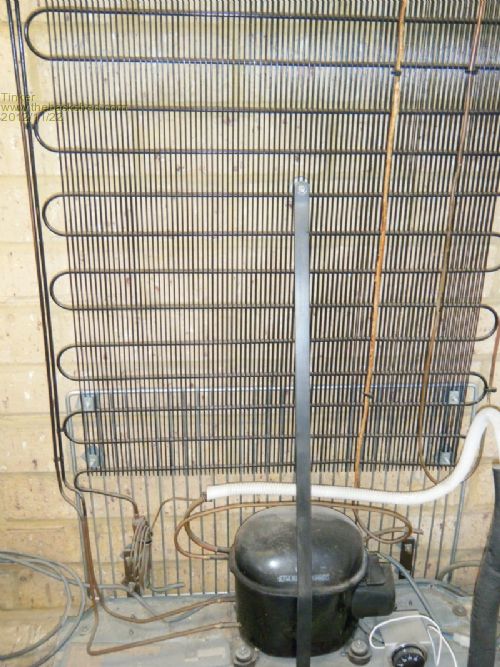
The thermostat requires special attention as it most likely will not easily mount externally with its existing fridge mounting arrangement. The capilliary tube on mine actually broke, rendering it useless, so I got an OEM thermostat, see picture, but its no longer listed in the latest catalogue of RS electronics. If there are small children around a better enclosure than the one pictured is required as little fingers must never get near life mains voltage connections. 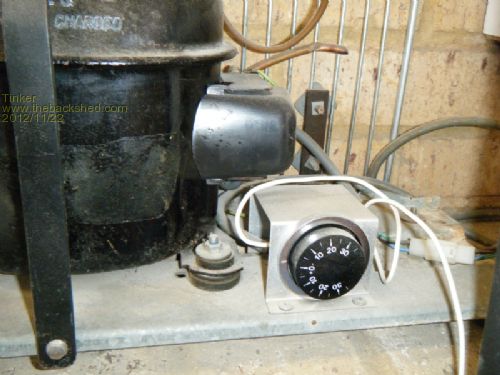
I use a simple latch to close the fridge door: 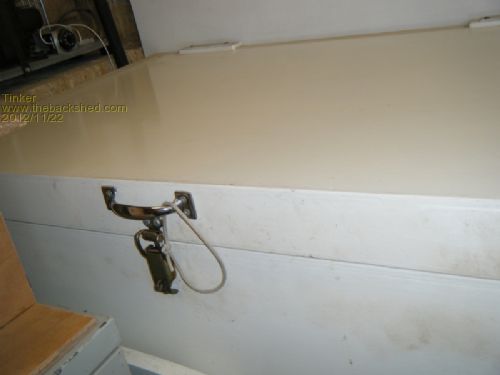
So, there it is, my home made chest drinks & shed stuff fridge. 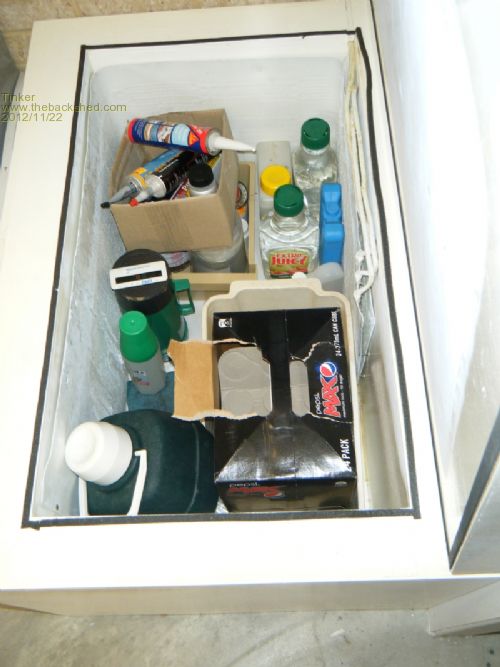
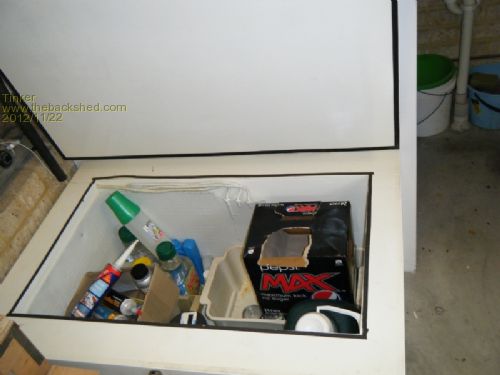
Klaus |
||||
| Gizmo Admin Group Joined: 05/06/2004 Location: AustraliaPosts: 5078 |
Great post and idea Klaus 
The best time to plant a tree was twenty years ago, the second best time is right now. JAQ |
||||
| Georgen Guru Joined: 13/09/2011 Location: AustraliaPosts: 462 |
Great post. I always thought that heater part could be further away from cool room. Split domestic fridge arrangement could be an option for those who want to have 7* or 9* rated systems. As it is OK in winter for fridge contributing to heating air indoors, but quite undesirable side-effect during heatwave. Quite a few years now I think what a shame that there is no one unit that: Heats water for domestic use and heating air inside the house, while cooling food. Not to mention that gas fumes leaving heated water tank, that are still warm could be further used to pre-warm water for the water heater. A/C could contribute to heating water in summer and take part in food refrigeration in winter. I know, difficult but with some smart-cap-on possible. George |
||||
| Wombat Regular Member Joined: 27/05/2011 Location: AustraliaPosts: 72 |
Very nice Klaus. I've seen a few fridge nods, but yours is practical and neat. Hope to do a similar thing in future when space permits. Well done! I like it a lot. Russ  |
||||
Madness Guru Joined: 08/10/2011 Location: AustraliaPosts: 2498 |
Have you taken note of how long the compressor needs to run? There are only 10 types of people in the world: those who understand binary, and those who don't. |
||||
| Tinker Guru Joined: 07/11/2007 Location: AustraliaPosts: 1904 |
I set the thermostat for 5 degrees near the underside of the lid. At this setting the compressor runs about 1-2 min per hour, depending on the shed temperature. Its only used as a drinks fridge but the evaporator size easily could turn it into a freezer requiring, of course, longer compressor running times. Klaus |
||||
Madness Guru Joined: 08/10/2011 Location: AustraliaPosts: 2498 |
A normal fridge runs about 50% of the time so that is big gain, well done. There are only 10 types of people in the world: those who understand binary, and those who don't. |
||||
| domwild Guru Joined: 16/12/2005 Location: AustraliaPosts: 873 |
Well done and very neat! Another idea is to simply get a freezer somehow and with a different thermostat reduce the electricity bill through the better insulation of a freezer and the lid of a freezer allows the cold air to stay inside rather than allowing it to fall out during opening. Taxation as a means of achieving prosperity is like a man standing inside a bucket trying to lift himself up. Winston Churchill |
||||
Madness Guru Joined: 08/10/2011 Location: AustraliaPosts: 2498 |
Most freezers (and fridges) now have the hot part of the system under the outer skin of the cabinet, this does not include the lid/door. This makes it impossible to add extra insulation to anywhere but the lid. There are only 10 types of people in the world: those who understand binary, and those who don't. |
||||